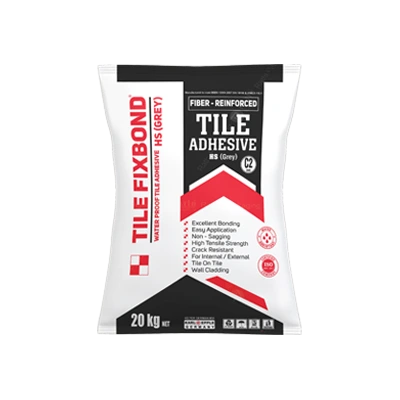
TILE FIXBOND HS is a premium polymer-based adhesive designed to install medium and large-format ceramic tiles, vitrified tiles, marble, and stone on walls and floors (Interier & Exterior). It offers exceptional performance for interior tiling projects, including tile-on-tile and bathroom installations.
Conpacmix / Tile Fixbond HS Adhesive
Substrate Requirements
The surface must be:
Surface Preparation
Mixing Instructions
Installation Guidelines
Cleaning
Wipe off excess adhesive from the tile surface with a damp sponge or cloth while the mortar is fresh.
Designed for applications on:
Technical Support